Materials Required:
Before you start, gather the following materials:
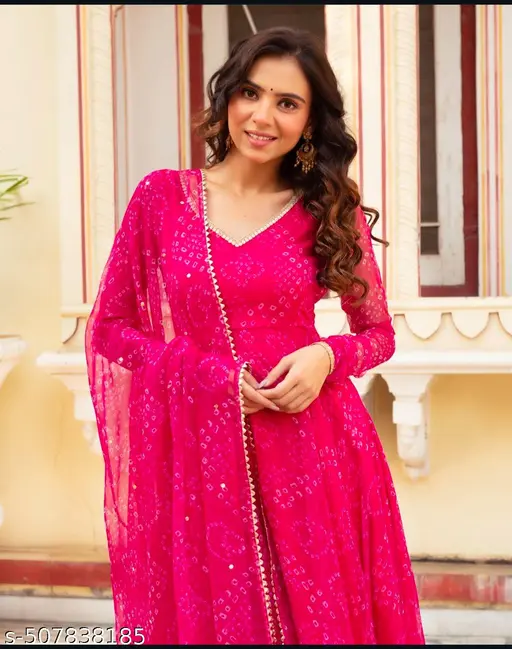
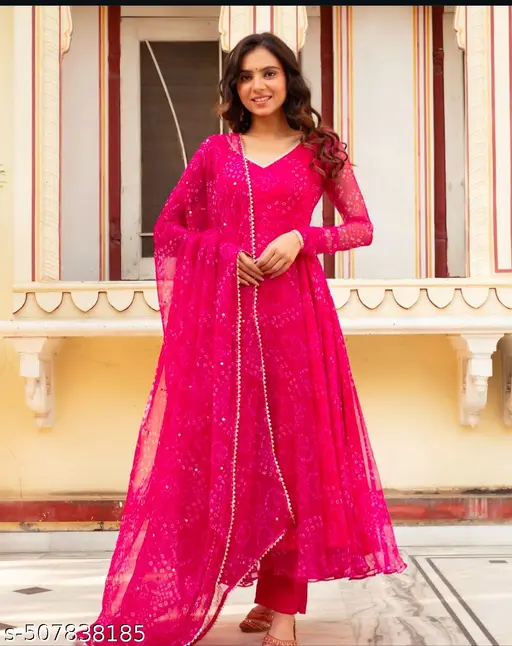
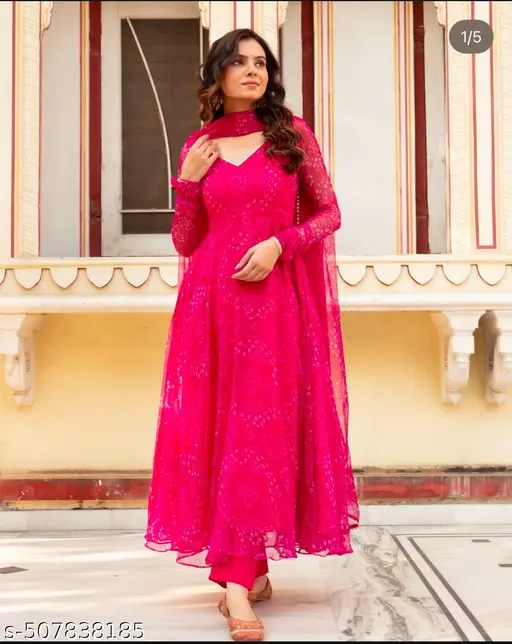
- Fabric – Georgette, Chiffon, or Cotton Silk (depending on your preference).
- Lining Fabric – Soft cotton or crepe (to give a better finish and comfort).
- Embroidery Threads – Silk or metallic thread for hand or machine embroidery.
- Sequins & Beads – To add shimmer and elegance.
- Sewing Machine – For stitching.
- Scissors, Measuring Tape & Chalk – For cutting and marking the fabric.
- Needles & Pins – For sewing and embroidery.
- Zipper or Hooks – Depending on the design closure.
Step 1: Choosing the Fabric & Design
- Select a flowy and elegant fabric like georgette or chiffon for a rich look.
- If you want a more structured Kurti, go for cotton silk or rayon.
- Decide on the embroidery pattern – floral, geometric, or abstract.
Step 2: Taking Measurements
Measure the following parts of your body:
- Bust – Fullest part of the chest.
- Waist – The narrowest part above your belly button.
- Hips – Fullest part of the hips.
- Length of the Kurti – From shoulder to desired length.
- Sleeve Length – If you want full, half, or sleeveless.
- Shoulder Width – For a perfect fit.
Step 3: Cutting the Fabric
- Fold the Fabric – Fold it in half and lay it on a flat surface.
- Mark the Measurements – Use chalk to outline the shape of the Kurti.
- Cut the Fabric – Carefully cut along the marked lines.
- Cut Sleeves & Neckline – Depending on the design, cut the sleeve and neckline shapes.
Step 4: Embroidery & Sequin Work
- If you’re doing hand embroidery, use an embroidery hoop to keep the fabric tight.
- Machine embroidery is faster and more uniform.
- Stitch the sequins and beads in a pattern that enhances the look.
- Use contrasting or same-tone threads for embroidery.
- Once done, press the fabric lightly to set the embroidery.
Step 5: Stitching the Kurti
- Attach the Lining Fabric – If using a sheer fabric like georgette, stitch the lining first.
- Stitch the Shoulders & Sides – Use a sewing machine for neat stitches.
- Attach the Sleeves – If using full or half sleeves, sew them carefully.
- Finish the Neckline – Add piping, lace, or a simple stitched edge.
- Hem the Bottom Edge – Fold and stitch the bottom to avoid fraying.
- Add Hooks or Zippers – If the design requires it for fitting.
Step 6: Final Touches & Styling
- Iron the Kurti to give it a polished look.
- Add extra embellishments if needed.
- Pair it with a matching dupatta for a complete ethnic look.
Tips for Making a Designer Kurti
✔️ Choose high-quality fabric to enhance the embroidery.
✔️ Use French seams or interlocking stitches for a professional finish.
✔️ Test embroidery on a sample fabric before working on the final piece.
✔️ If you’re a beginner, start with simple designs and gradually try more complex embroidery patterns.


Reviews
There are no reviews yet.